
For those of you curious or new with this whole planning thing, there are numerous sources of inspiration all over social media. And it's crazy how the planner community has grown especially with all these various shops out there on Etsy that sell a variety of planner supplies and goodies from digital paper, to stickers, cute paper clips, printables, planner charms, and planner inserts. First figure out what planner or agenda best suits you. YouTube and Instagram are the best places to search for trending planners. Once you have your planner and need a little nudge in the right direction with the must-have's, an affordable way to stock up on planner goodies like post it notes, reminder stickies and fun pretty pens is to head over to the One Spot section at Target. Amazon is an awesome online store for stationary and office supplies as well. For decorative elements I always go to Michael's Arts & Crafts, Jo-Ann's Fabrics and Hobby Lobby. It is also fun to check out Japanese stores like Daiso, their stationary section has some of the cutest stuff.
In this blog post I am sharing with you how I set up my Kate Spade planner. By no means am I posing to be a Pro or planner guru, I just love planning! My intention is to simply share with you what I've learned through the months since I've decided to go back to "paper and pen" planning and keeping an agenda with me at all times. My current planner is the personal size 2015 Kate Spade Wellesley red zip with fuscia interior. This has been a discontinued item since last year and can only be found & purchased (pre-Loved and sold by owner) on the Kate Spade Planners Club group on Facebook, that is where I got mine. If you get lucky you'll probably find this on Poshmark. Anyhow the original owner included filoFax inserts but I chose to use the inserts from my Webster's Pages Color Crush planner because they are so beautiful and made of high quality paper.
Planner Set Up video:
Photos:

 |
| dashboard #1 |


 |
| an example of how I decorate my monthly pages |
 |
| dashboard #2 |
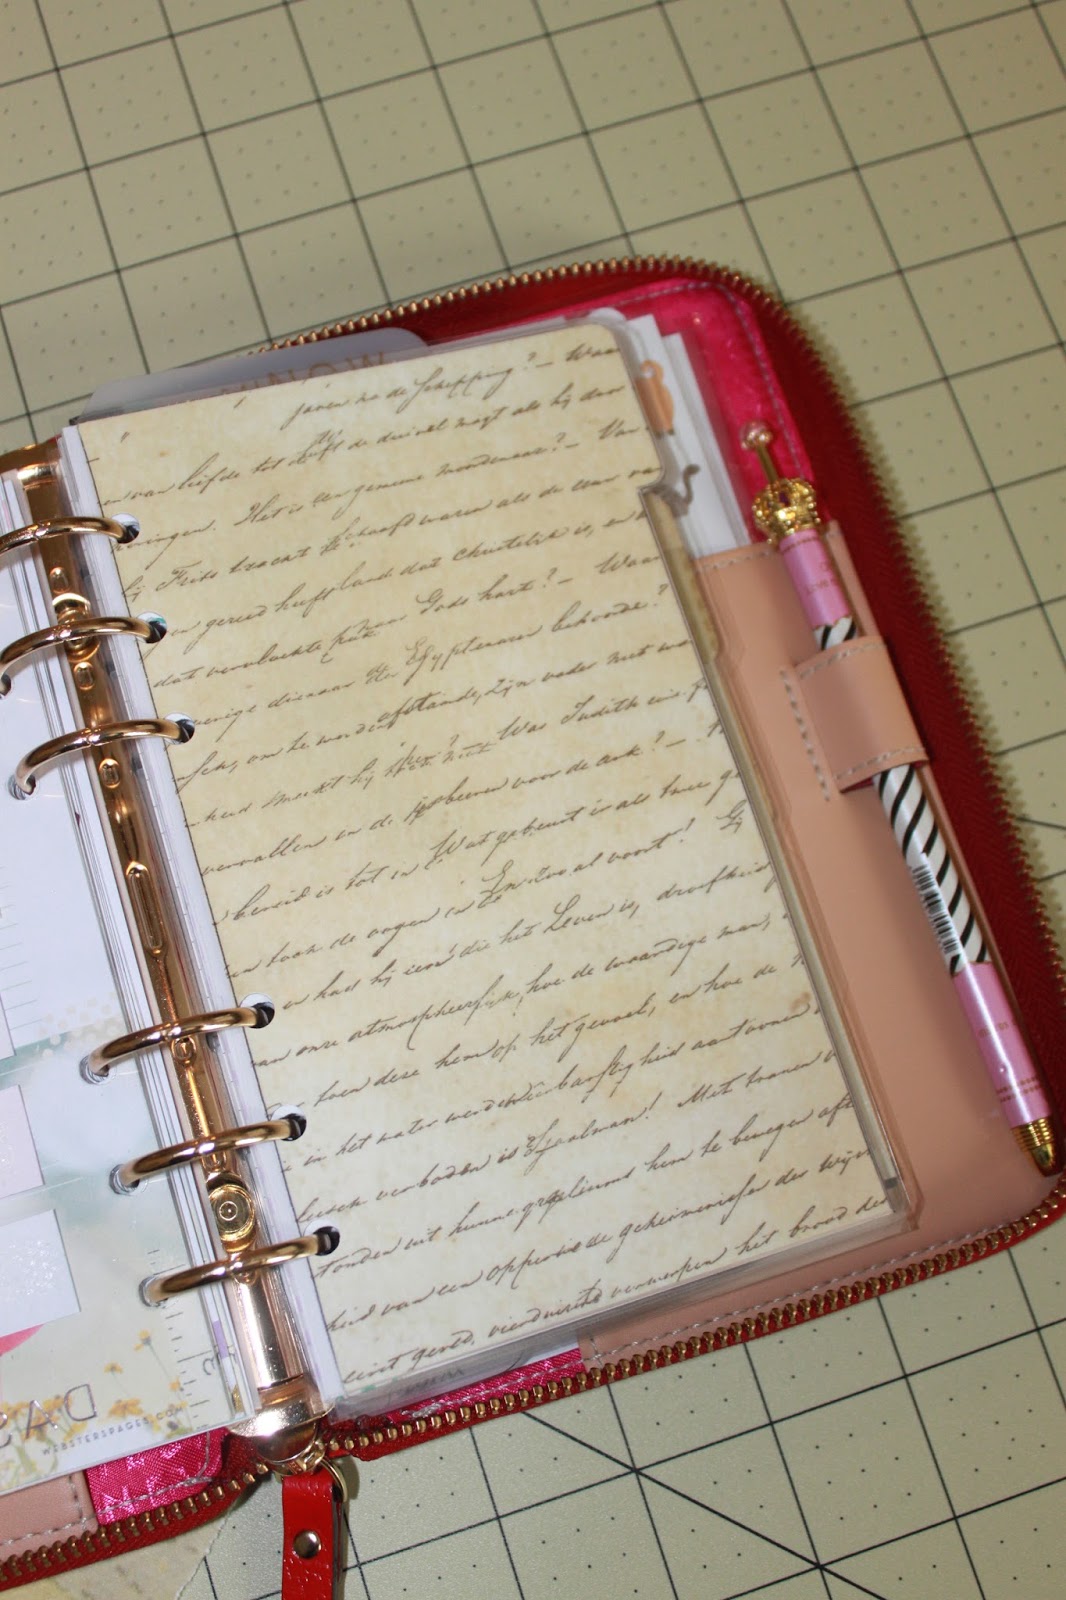 |
| I made these dividers from scrapbook paper and 60 lb. weight card stock for reinforcement, laminated and cut them to size |
 |
| an example of my decorated week on 2 pages |
 |
 |
 |

 |
| decorative stickers I keep in the back secretarial pocket |
No comments:
Post a Comment